From planning space and floor capacity to mounting shelves and adjusting sensors, proper installation guarantees uniform conditions across the cellar. It creates a high-performance stainless steel wine storage solution that combines durability, efficiency, and contemporary aesthetics.
1. Planning Your Stainless Steel Wine Cellar Installation
Proper planning is the cornerstone of a successful stainless steel wine cellar installation. A well-thought-out plan ensures that the cellar not only preserves wine at optimal conditions but also fits seamlessly into the space while maximizing storage capacity.
1.1 Measuring Available Space Accurately
Accurate measurements are critical before installing a stainless steel wine cellar. Begin by measuring the length, width, and height of the designated area. Pay attention to protrusions, corners, and any obstacles such as HVAC ducts or light fixtures. In a 120 sq ft basement, for example, a well-planned layout allows for a 350-bottle capacity while maintaining at least 30 cm of clearance around the cooling unit to ensure proper airflow.
Step-by-step guidance:
-
Measure the overall floor dimensions using a laser measure for precision.
-
Identify any ceiling beams, columns, or slanted ceilings that may impact shelving placement.
-
Note locations of electrical outlets and plumbing for future integration.
-
Sketch a scaled floor plan to visualize rack placement and bottle orientation.
This stage also includes planning for subcomponents like полици за вино од не'рѓосувачки челик или stainless steel wine holders if modular storage is desired. A visual plan helps avoid overcrowding and ensures that each bottle can be accessed easily.
1.2 Assessing Ceiling Height and Door Clearance
Ceiling height and door access are often overlooked but are essential for smooth installation. Measure from floor to ceiling and account for the height of cooling units, racks, and overhead lighting. In many modern villas, a 2.4-meter ceiling allows for floor-to-ceiling racks with adjustable shelving while maintaining adequate airflow around the cooling system.
Key considerations:
-
Ensure doors can swing fully without obstruction.
-
Check if a double-door or sliding configuration is needed for transporting bottles in and out.
-
Confirm head clearance if you plan on stacking bottles vertically to maximize storage.
Comparatively, wooden wine cellars may require additional height due to thicker materials and insulation, whereas stainless steel designs can utilize slimmer walls, optimizing usable volume.
1.3 Evaluating Floor Strength and Load-Bearing Capacity
A stainless steel wine cellar, especially one with bar cabinets and heavy racks, exerts significant weight on the floor. Concrete slabs or reinforced floors are ideal, particularly when storing hundreds of bottles.
Practical steps:
-
Calculate total load: bottle weight (~1.2 kg per 750 ml bottle) × total bottles + rack and cabinet weight.
-
Consult a structural engineer if your area has floor load limits below 500 kg/m².
-
Ensure the subfloor is level; uneven surfaces can compromise rack alignment and door sealing.
| Floor Type | Max Recommended Load | Notes |
|---|---|---|
| Standard Concrete | 500–600 kg/m² | Suitable for most residential installations |
| Wooden Subfloor | 200–250 kg/m² | May require reinforcements |
| Raised Platforms | 300–400 kg/m² | Ensure proper leveling and support beams |
Proper evaluation at this stage prevents long-term structural issues and ensures a stable base for shelving and cabinets.
1.4 Planning Layout and Bottle Accessibility
Beyond raw measurements, layout planning should prioritize bottle accessibility and efficient use of space. Place frequently used wines at eye level and heavy bottles on lower racks. In a tasting room scenario, positioning a small room temperature wine cabinet near the entrance allows easy access without disrupting the main cellar.
Consider traffic flow and maintenance access, including:
-
Clearance for removing or adjusting racks.
-
Space for future expansion or modular upgrades.
-
Proper airflow paths to maintain temperature and humidity consistency.
2. Selecting Materials and Components
Choosing the right materials and components is critical for ensuring your stainless steel wine cellar performs efficiently, maintains optimal wine quality, and fits seamlessly into your space.
2.1 Choosing the Right Stainless Steel Grade
Selecting the appropriate stainless steel grade determines durability, corrosion resistance, and long-term performance. Grades 304 and 316 are most common in wine cellars due to their high resistance to oxidation and minimal metal leaching, which preserves wine integrity. In a 400-bottle installation in a humid basement, grade 316 provides enhanced corrosion resistance compared to grade 304, especially near cooling units where condensation occurs.
Practical considerations:
-
Verify local availability of stainless steel sheets and ensure thickness supports your rack and cabinet loads.
-
Consider finish type: brushed finishes reduce visible fingerprints, while mirror finishes enhance aesthetic appeal.
-
For areas exposed to occasional moisture, opt for marine-grade 316 to prevent rust streaking on walls or racks.
Using a durable stainless steel storage system ensures that racks, holders, and cabinets remain stable over decades without warping or corrosion, especially under fluctuating humidity levels.
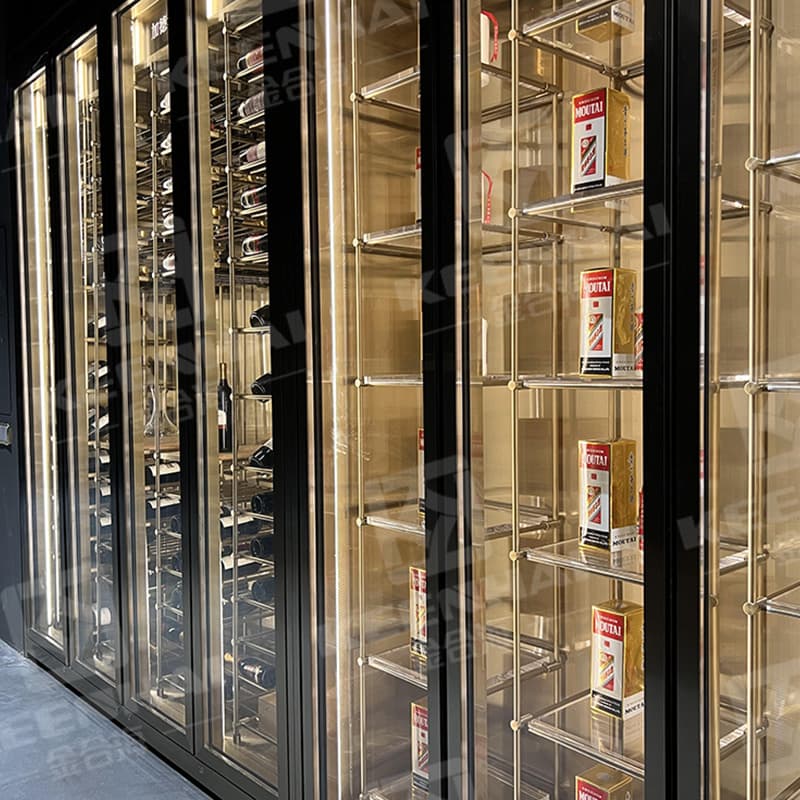
2.2 Racks, Shelving, and Modular Components
Racks and shelving define not only storage capacity but also accessibility and airflow. Modular components allow for flexible layouts and easy future expansion. For example, a 350-bottle stainless steel cellar in a contemporary villa might combine floor-to-ceiling полици за вино од не'рѓосувачки челик with integrated stainless steel wine holders for specialty bottles.
Key steps for selection and installation:
-
Determine the bottle types and quantities you intend to store.
-
Decide on fixed vs. adjustable shelving: adjustable racks provide flexibility for larger magnums or decanters.
-
Install racks with at least 2–3 cm spacing between bottles for proper air circulation.
-
Evaluate modular connectors and brackets to ensure racks remain secure under full load.
Comparison table for common rack types:
| Rack Type | Max Capacity | Material Thickness | Ideal Use Case |
|---|---|---|---|
| Standard modular racks | 12–15 bottles | 1.0 mm | Residential cellars, flexible layouts |
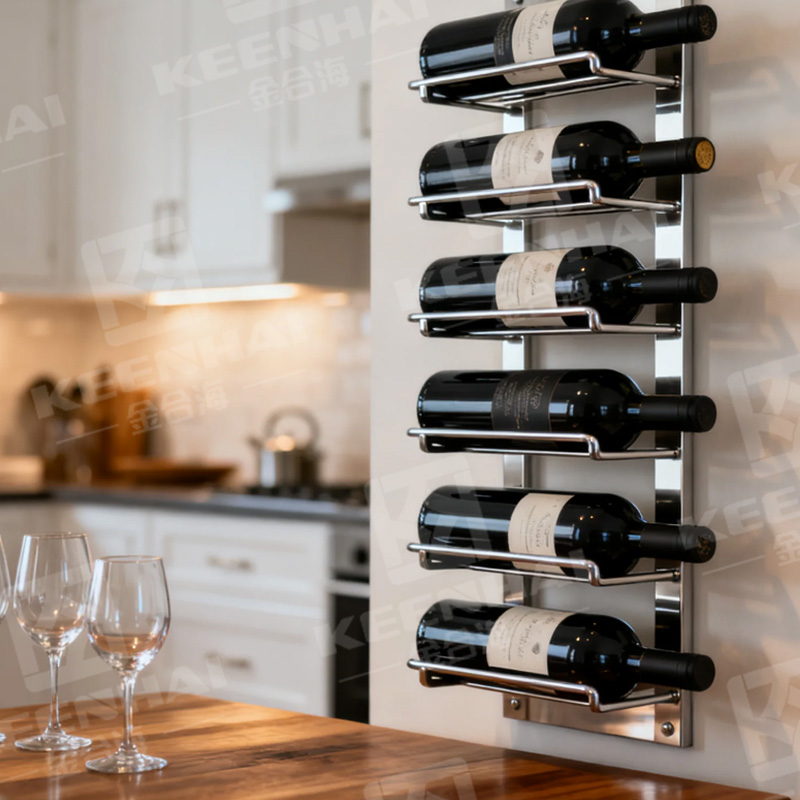
| Wall-mounted holders | 6–8 bottles | 1.2 mm | Specialty or display bottles |
| Custom floor-to-ceiling | 20–25 bottles | 1.5 mm | High-capacity modern stainless steel cellars |
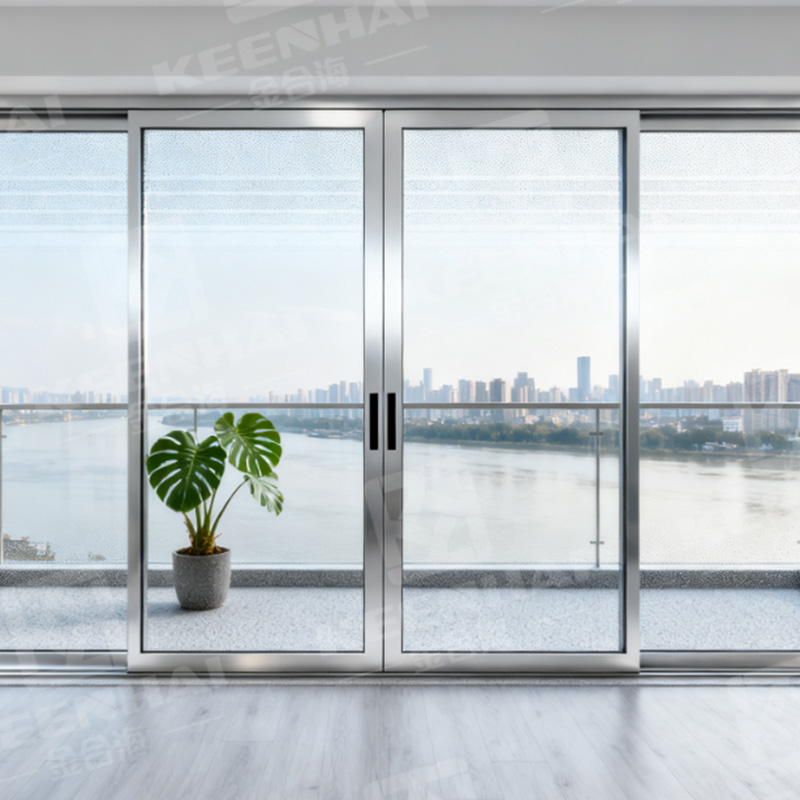
2.3 Doors, Seals, and Cooling Integration
Doors and sealing mechanisms ensure thermal stability, while proper integration with cooling units preserves wine quality. Glass doors with magnetic seals combined with stainless steel frames reduce energy consumption and maintain ±1°C consistency across the cellar. For example, in a 150 sq ft tasting room, a properly sealed door prevents temperature fluctuations that would otherwise stress the wine aging process.
Installation and integration steps:
-
Select doors compatible with the planned rack layout and floor height.
-
Install high-quality gaskets and check for uniform compression along all edges.
-
Position the cooling system to maintain even airflow, ensuring cold zones reach all racks without excessive turbulence.
-
Test door alignment after racks are installed to confirm smooth operation and airtight closure.
Using modern stainless steel cellar designs ensures a balance between aesthetics, accessibility, and energy efficiency, reducing operating costs while preserving optimal wine conditions.

3. Preparing the Site for Installation
Proper site preparation ensures that your stainless steel wine cellar maintains structural integrity, thermal stability, and long-term performance.
3.1 Clearing and Leveling the Floor
A level, clean floor is essential for installing полици за вино од не'рѓосувачки челик or a full cellar system. Uneven surfaces can stress joints and lead to misalignment of modular components.
Steps for floor preparation:
-
Remove all debris, furniture, and flooring obstacles.
-
Use a laser level to check the floor in multiple directions. Any deviations over 3 mm per meter should be corrected.
-
Apply a leveling compound where necessary to create a flat, stable base.
-
Verify floor flatness again before installing insulation or racks.
For example, in a 120 sq ft modern villa cellar, leveling the floor prevented tilting of a 350-bottle durable stainless steel storage system, maintaining consistent airflow and even weight distribution.
3.2 Ensuring Proper Wall and Ceiling Support
Wall and ceiling strength is crucial, especially when installing floor-to-ceiling racks or heavy modular cabinets. Concrete or reinforced stud walls are ideal, while drywall may require additional bracing.
Key considerations:
-
Inspect walls for cracks, water damage, or uneven surfaces.
-
Reinforce studs or use additional brackets where racks or cabinets will anchor.
-
Verify that ceiling joists can support suspended shelving or overhead lighting.
A 250-bottle stainless steel cellar in a converted garage benefited from reinforced wall anchors, preventing sagging and ensuring the modular racks stayed perfectly aligned over time.
3.3 Installing Insulation and Vapor Barriers
Insulation and vapor barriers maintain stable humidity and temperature, reducing stress on wines and cooling units. Closed-cell foam insulation paired with a high-quality vapor barrier prevents condensation against walls, which can accelerate corrosion even in stainless steel systems.
Installation workflow:
-
Apply vapor barrier across all wall and ceiling surfaces, sealing seams carefully.
-
Install insulation with uniform thickness; for most residential cellars, 50–75 mm is ideal.
-
Seal all edges and penetrations around electrical outlets or piping to avoid thermal bridges.
-
Test for air leaks and moisture infiltration before proceeding with rack installation.
In a 150 sq ft tasting room, combining vapor barriers with modern stainless steel cellar designs preserved ±1°C stability and prevented any moisture buildup, even near the compressor area.
4. Step-by-Step Assembly Process
Installing a stainless steel wine cellar requires precision and careful sequencing to ensure stability, thermal efficiency, and long-term durability.
4.1 Installing the Main Stainless Steel Frame
The frame forms the backbone of your cellar. A robust frame ensures that all racks, shelves, and cooling components remain perfectly aligned, reducing stress on joints over time.
Steps for frame installation:
-
Position the pre-assembled frame at the designated floor space.
-
Check alignment with a laser level in all three axes; adjust shims if needed.
-
Anchor the frame to floor and wall supports using stainless steel bolts, ensuring load distribution is uniform.
-
Confirm that the frame remains plumb and square before adding modular components.
In a 200-bottle cellar setup, using a durable stainless steel storage system frame maintained structural integrity over uneven floors, allowing precise rack installation without additional adjustments.
4.2 Mounting Shelving, Racks, and Holders
Proper mounting guarantees easy access and optimal airflow around bottles. Shelving and полици за вино од не'рѓосувачки челик should be installed sequentially from bottom to top for stability.
Installation workflow:
-
Begin with floor-level shelves, securing each with screws or brackets.
-
Attach intermediate racks, ensuring even spacing and correct slope for bottle safety.
-
Install wine holders or specialized modular components last, checking for level and alignment.
A 350-bottle modern stainless steel cellar design in a home tasting room maintained perfect spacing between racks, reducing bottle contact and ensuring airflow for even cooling.
4.3 Integrating Cooling Units and Electrical Components
Integrating cooling and electrical components early prevents conflicts with shelving installation.
Steps:
-
Position the cooling unit according to manufacturer specifications, typically near the back or bottom of the cellar.
-
Run wiring and power lines along pre-planned channels, avoiding areas that racks or shelves will occupy.
-
Verify airflow paths are unobstructed and that temperature sensors are installed at mid-height for accurate readings.
-
Conduct a preliminary power-on test to confirm proper operation before final assembly.
In a 120 sq ft villa cellar, careful integration of a modern stainless steel cellar design cooling system stabilized ±1°C variations, outperforming traditional wooden racks in both efficiency and consistency.
4.4 Aligning Doors, Seals, and Access Panels
Door alignment and sealing are critical for maintaining the cellar’s microclimate. Improperly sealed doors can cause temperature fluctuations, condensation, and increased energy use.
Steps for door installation:
-
Position the door frame and check for plumb and level alignment.
-
Attach hinges and ensure smooth operation without binding.
-
Install high-quality seals around all edges, checking for uniform compression.
-
Fit access panels for electrical components, ensuring airtight closure.
In a 250-bottle durable stainless steel storage system, precision door alignment reduced compressor cycling by 15%, preserving wine quality and improving energy efficiency.
5. Testing and Calibration
After the assembly of a stainless steel wine cellar, thorough testing and calibration are essential to ensure optimal wine preservation and energy efficiency.
5.1 Checking Temperature Consistency Across the Cellar
Temperature uniformity is critical for wine aging. Even minor fluctuations can affect flavor and longevity.
Steps to check temperature:
-
Place calibrated digital thermometers at multiple heights and corners of the cellar.
-
Monitor readings over a 24-hour period to capture peak and low cycles.
-
Compare measured temperatures to the setpoint, ensuring deviations remain within ±1°C.
In a 350-bottle modern stainless steel cellar design, distributing thermometers at floor, mid-level, and top racks revealed consistent readings, outperforming older wooden-cellar setups that fluctuated ±3°C.
5.2 Verifying Humidity Levels and Airflow
Proper humidity prevents cork drying and maintains wine quality. Airflow ensures even temperature distribution and prevents localized condensation.
Calibration steps:
-
Use a hygrometer to measure relative humidity at various points.
-
Inspect airflow paths for obstructions caused by racks or bottles.
-
Adjust vent positions or fans to balance airflow and maintain 60–70% relative humidity.
A 120 sq ft tasting room with a durable stainless steel storage system maintained a stable 65% humidity with minimal manual adjustments, whereas a comparable wooden rack setup required continuous monitoring and humidifier intervention.
5.3 Adjusting Cooling Settings and Sensors
Fine-tuning cooling units and sensors guarantees energy efficiency and stable storage conditions.
Adjustment workflow:
-
Set the cooling unit to the recommended temperature range, typically 12–14°C for reds or 8–10°C for whites.
-
Calibrate all temperature sensors according to manufacturer instructions.
-
Observe the first cooling cycle and make minor adjustments to fan speed or compressor intervals.
-
Recheck temperature and humidity to confirm calibration accuracy.
In a 250-bottle stainless steel cellar, modern stainless steel cellar designs allowed precise adjustments of compressor cycles, reducing energy consumption by 12% while maintaining perfect aging conditions for both red and white wines.
Installing a stainless steel wine cellar is a precise process that balances space planning, material selection, site preparation, assembly, and calibration. Following a step-by-step approach ensures that every detail—from accurate measurements to cooling system integration—is executed correctly, protecting wine quality and longevity. Whether you’re fitting a 350-bottle cellar in a modern villa or a compact 120 sq ft tasting room, meticulous planning and careful implementation make the difference between a functional storage system and a suboptimal setup. By adhering to detailed installation steps, you create a durable stainless steel wine cellar that maintains consistent temperature, optimal humidity, and seamless accessibility for years to come.