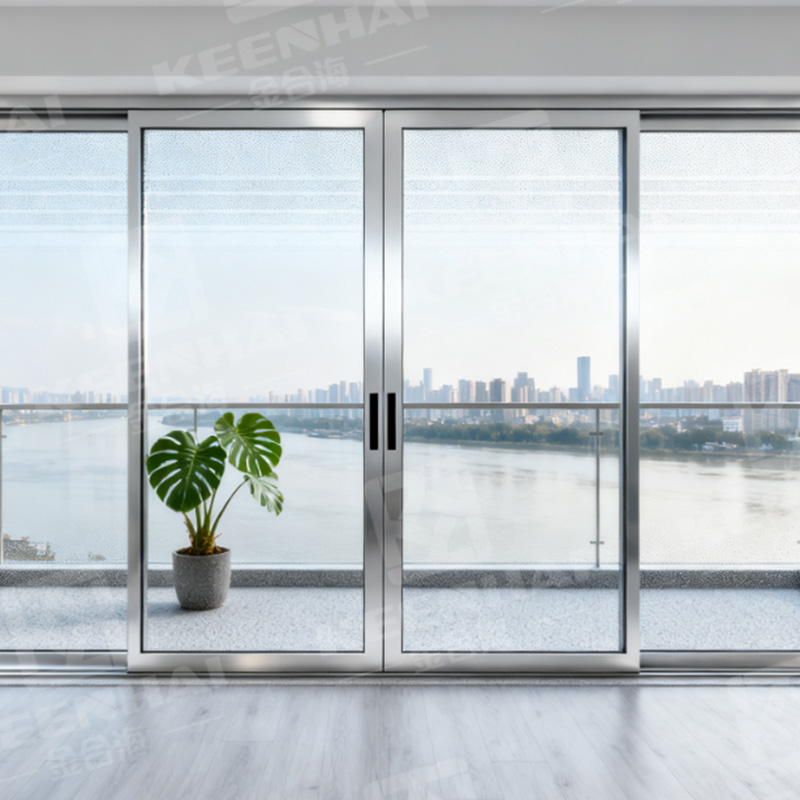
To install a stainless steel sliding door like a pro, start with accurate measurements and ensure your wall can support the track load. Mount the top rail level to within ±1 mm, and use high-grade rollers rated for your door’s weight. Proper lubrication and sealing will prevent friction and drafts. Once adjusted, the door should slide quietly with consistent pressure across its path—proof that the alignment is spot on.
1. Pre-Installation Preparation
Before diving into the actual installation, it’s critical to ensure everything is measured, aligned, and prepped correctly. A small misstep here can throw off the entire alignment later. When professionals install stainless steel sliding door systems, they don’t start with drilling holes—they start with accuracy and structure. Let’s go through each part that makes the installation clean and long-lasting.
1.1 Measuring Doorway Dimensions Accurately
Every successful installation starts with precise measurements. Even a 3 mm error can cause sliding panels to bind or misalign.
Follow these steps to measure like a pro:
-
Use a laser level or metal tape to measure both the top and bottom widths of the doorway.
-
Measure the height from floor to header on both sides, because most walls are not perfectly square.
-
Note the smallest height and width — that’s your actual working size.
-
Deduct 10–12 mm from the top clearance to leave room for rollers and track installation.
If you’re fitting a Раздвижная дверь из нержавеющей стали с покрытием PVD, the coating layer can slightly thicken the panel edges, so make sure to double-check the overlap zone.
Contractors often mark the “rough opening” and “finished opening” separately — this saves rework when aligning the top track and the bottom guide rail.
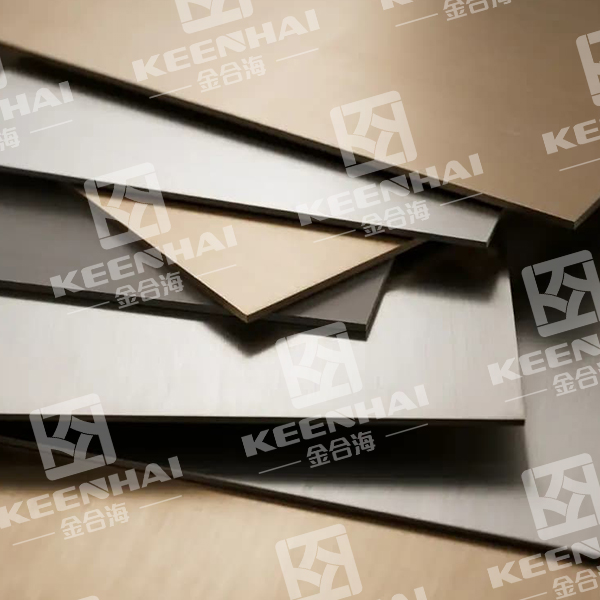
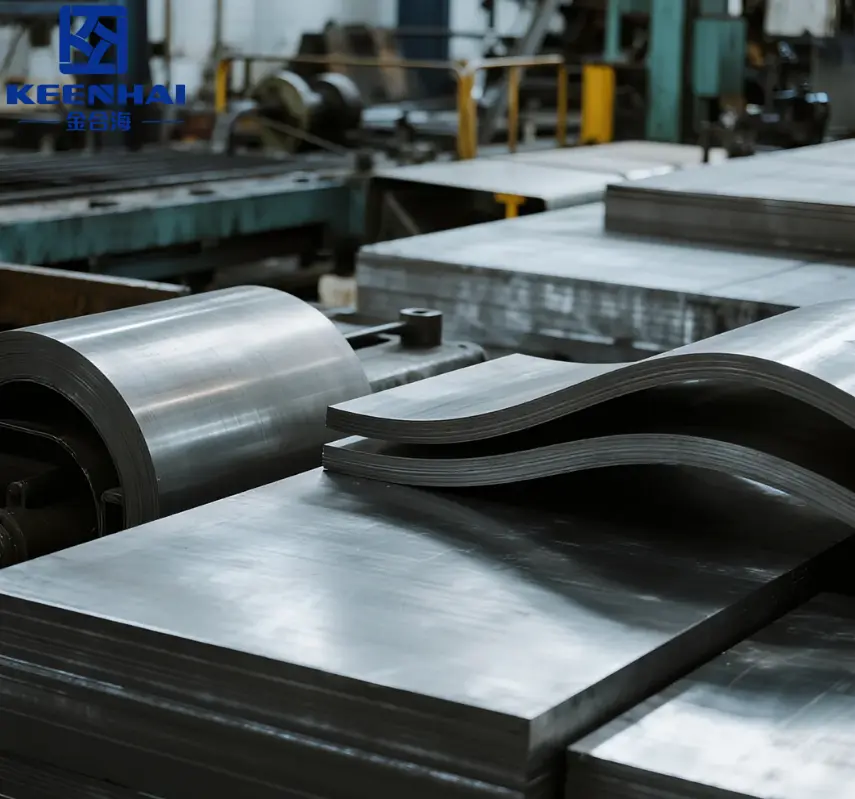
1.2 Choosing the Right Stainless Steel Door Kit
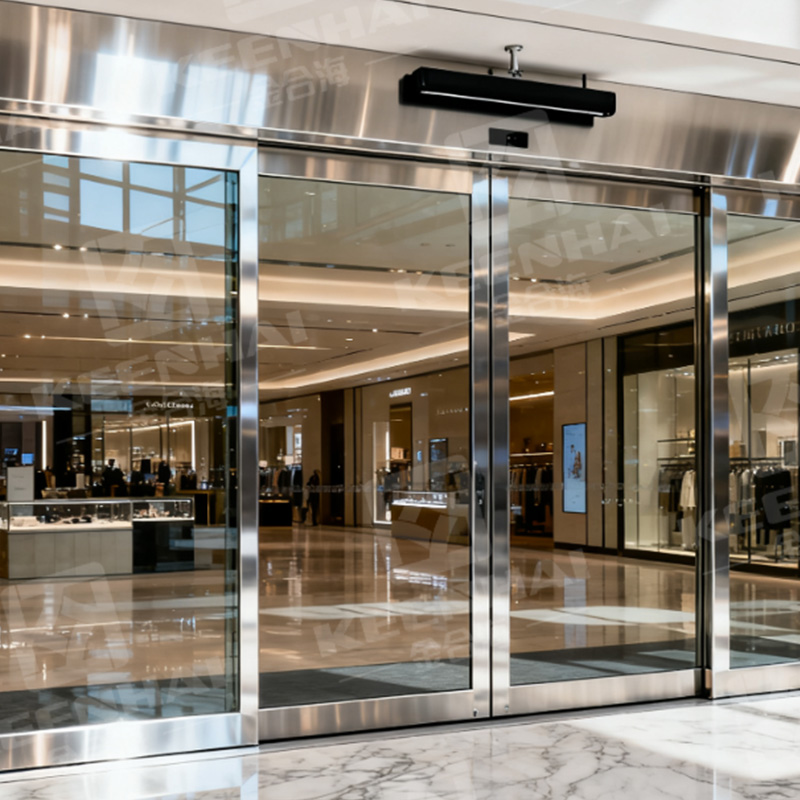
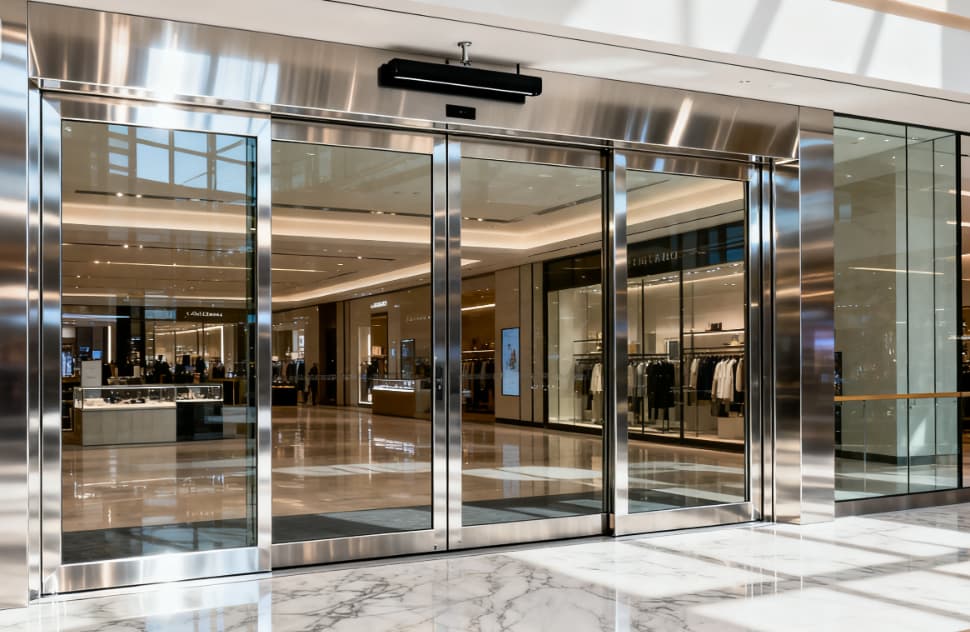
Not all door kits are created equal. The track load capacity, roller material, and handle type determine how smooth your door glides over time. For example, a hotel automatic stainless steel sliding door may require a stronger motorized track than a manual home setup.
| Specification | Light-Duty Kit | Heavy-Duty Kit |
|---|---|---|
| Door Weight Capacity | Up to 80 kg | Up to 150 kg |
| Track Material | Aluminum Alloy | 304/316 Stainless Steel |
| Roller Type | Nylon-Coated | Bearing Steel |
| Noise Level | 38–42 dB | 32–36 dB |
| Recommended Use | Residential | Commercial / Hotel |
As shown above, the difference in load capacity directly affects how smooth the door moves under pressure. A premium stainless steel door design with a heavier track will glide more quietly and resist wear even after 50,000+ open-close cycles.
If your project involves automation, check whether the Автоматическая раздвижная дверь из нержавеющей стали kit includes sensor integration and failsafe mode—it’s often the hidden difference between a door that just slides and one that works flawlessly.
1.3 Preparing Tools, Hardware, and Accessories
Having the right tools within arm’s reach can save you an hour of frustration. A professional installer never starts without a checklist.
You’ll need:
-
Level ruler, laser marker, and chalk line
-
Electric drill (8 mm and 10 mm bits)
-
Stainless steel screws and anchors
-
Adjustable wrench and screwdriver set
-
Silicone sealant and finishing tape
-
Measuring tape and pencil for marking lines
Optional but recommended:
-
Soft rubber mallet to align panels without scratching
-
Lubricant spray for the roller bearings
For a modern stainless steel sliding solution, always use corrosion-resistant hardware—especially if it’s for coastal or humid environments. Moisture in the wall can degrade cheaper screws, causing micro-movement in the track that affects alignment over time.
1.4 Checking Wall Structure and Track Support
Before drilling any holes, inspect what’s behind your wall. A solid structure ensures your door won’t sag or rattle.
Here’s what to verify before mounting:
-
Confirm that the wall or ceiling header is load-bearing or reinforced with a metal frame.
-
Avoid mounting directly into drywall or plaster without anchors—always use at least M8 expansion bolts for stability.
-
For concrete walls, drill at least 60 mm deep to seat the anchors securely.
-
For wood or metal studs, locate the centerline of studs to anchor the track evenly.
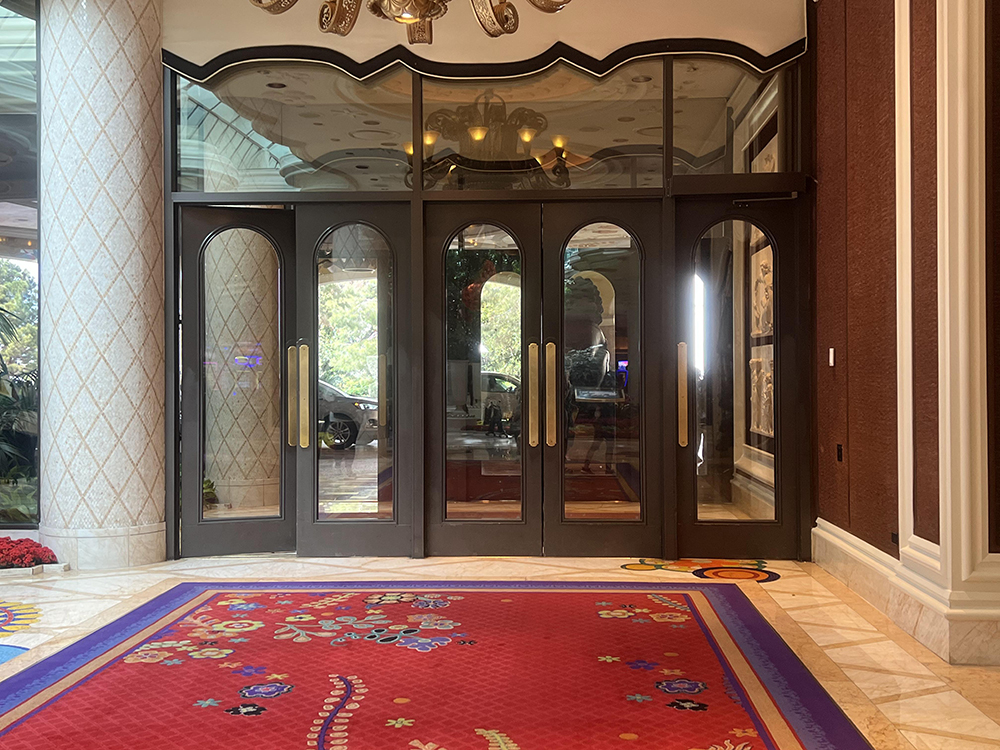
Installers working in high-end projects like hotel lobbies or glass-fronted stores often combine Glass Entrance Doors with sliding mechanisms for seamless visual flow between interior and exterior zones. In such cases, precise structural checking prevents misalignment between glass panels and metal frames.
Always perform a “dry fit” before final tightening. Hang the door, slide it a few times, and ensure both sides glide symmetrically without scraping. This 10-minute test can save hours of realignment later.

2. Installing the Sliding Track System
The track system is the backbone of every stainless steel sliding door installation, and precision at this stage determines how smooth and silent the door will feel years later. A track that’s even slightly misaligned can cause grinding noise, uneven wear, or gaps between the panels and the wall. Before mounting, double-check all your measurements and keep a spirit level within reach throughout the process.
2.1 Marking and Drilling Track Mounting Points
Start by marking the line where the upper track will sit. The line should be perfectly horizontal, ideally verified with a laser level rather than just a bubble level.
-
Measure the door height and add 10–12 mm clearance for roller movement.
-
Mark the holes along the header based on your door kit’s pre-drilled spacing, usually every 300–400 mm apart.
-
Use a 6 mm pilot drill bit first to avoid cracking tiles or concrete, then widen the holes to 8 mm for anchor bolts.
-
Clean the dust from the drilled holes to ensure the bolts grip properly.
If you’re working with an Автоматическая раздвижная дверь из нержавеющей стали, always pre-plan the sensor wiring and motor control box position before drilling. Once the track is mounted, these wires should run concealed through a conduit, avoiding friction against moving parts.
2.2 Securing the Upper Track and Alignment Check
Once the holes are ready, position the track against the marked line and secure it firmly.
-
Begin tightening from the center and move outward to evenly distribute pressure.
-
After tightening, use the laser level again to confirm the entire length of the track sits straight—even a 2 mm deviation can affect door alignment.
-
Test the rollers on the track before hanging the actual panel. Slide them from end to end and make sure there’s no resistance or wobble.
For premium stainless steel sliding door systems, the track’s build quality—especially if made of 316-grade stainless steel—provides better rigidity against wall flexing. This prevents the top rail from sagging when the door remains half-open for long periods, a common issue with lighter materials.
2.3 Installing Floor Guide and Bottom Bracket
A smooth glide starts at the bottom. The floor guide keeps the door from swinging outward and ensures straight-line movement.
-
Close the door halfway and align the floor guide exactly beneath the bottom edge of the panel.
-
Mark the guide’s screw holes with a pencil, drill 6 mm holes, and insert the anchors.
-
Fix the guide using stainless screws and test the sliding path several times before final tightening.
-
If your door includes a bottom bracket system, adjust the bracket gap to 2–3 mm, ensuring it hugs the door without restricting motion.
In commercial projects like hotel entrances, this step is crucial for maintaining smooth movement in hotel automatic stainless steel sliding doors, especially when integrated with floor sensors or door closers.
2.4 Ensuring Proper Leveling and Smooth Motion
Once both tracks are in place, hang the panel and test its movement.
-
Slide the door slowly from end to end to verify that it moves without friction.
-
Adjust the roller height screws using a wrench to fine-tune leveling.
-
Check the gap between the door and floor — it should stay consistent at 10–12 mm throughout the track’s length.
-
Tighten all screws only after confirming perfect balance.
If you notice uneven rolling, loosen the affected roller slightly and adjust until the door glides effortlessly. Installers often perform 20–30 test slides before calling it complete, ensuring every inch of the track operates silently.
Once the track system is level, secured, and friction-free, the door will glide with the kind of quiet precision expected from a modern stainless steel sliding solution. That smooth feel isn’t accidental — it’s the result of accurate marking, tight anchoring, and deliberate fine-tuning.

3. Mounting and Adjusting the Door Panels
3.1 Hanging the Door on the Track
Hang panels with two people to avoid twisting the frame. First, lift the panel so the rollers engage the track, then slowly lower the weight onto the rollers while one person guides the panel laterally. If the panel weighs over 80 kg, use a hoist or lifting straps to protect installers and avoid bending the door edge.
-
Position the panel directly under the track, align top roller brackets with the rail entry.
-
Tilt the top slightly and insert the rollers into the track groove.
-
Lower the panel until the bottom edge clears the floor guide by about 10–12 mm.
-
Secure temporary support blocks under the panel before removing lifting aids.
After hanging, slide the panel gently along the full length of the track to confirm rollers seat correctly. Listen for any grinding or catching—those sounds pinpoint alignment issues that need fixing before final tightening.
3.2 Balancing Door Weight and Roller Alignment
Correct roller adjustment prevents uneven wear and ensures a lifetime of quiet operation. Most commercial rollers allow 10–15 mm of vertical adjustment; use that range to set the panel level.
-
Use a spirit level across the panel top and adjust each roller screw in small increments (¼ turn at a time).
-
Re-check level after every 2–3 adjustments.
-
When the panel sits level, torque roller lock nuts to the manufacturer-recommended value (typically 15–25 Nm for M8 hardware); this prevents gradual drift.
Make sure each roller shares load evenly. To test load distribution:
-
Mark the top edge at the midpoint, then apply a light upward force at each end; if one side lifts more easily, raise that roller until the panel returns to even balance. Balanced rollers reduce lateral play and extend bearing life.
3.3 Fine-Tuning Stopper Positions and Gap Clearance
Stoppers protect hardware and set the final travel limits. Set them so the door stops smoothly without slamming or leaving excessive gap. Proper gap control also preserves seals and weatherstripping.
-
Position the opening stopper roughly 15–25 mm inside the track end to allow the soft buffer to absorb impact.
-
Adjust the closing stopper so the final closed position leaves a uniform 10–12 mm floor clearance and a consistent vertical gap (usually 3–6 mm) at the latch side.
-
Tighten stopper anchors and run the door through 10 slow cycles to verify smooth, repeatable stops.
If you use magnetic or rubber buffers, make sure the buffer faces align squarely with the door’s strike plate; misaligned buffers cause uneven deceleration and increase hardware stress. Finally, check seals around the perimeter—gaps larger than 6 mm at any point indicate misalignment or roller height error and require re-adjustment before finishing.
4. Installing Handles, Locks, and Accessories
4.1 Choosing Handle Type (Flush or Bar Style)
Pick a handle that matches function and aesthetics. Flush pulls work best when you want a clean, uninterrupted plane — they reduce snagging and suit sliding panels that recess into pockets. Bar handles offer easier grip for heavy glass or commercial entrances and give a more pronounced visual cue for users. For public buildings, choose bar-style handles at least 300–400 mm long to accommodate two-handed pulls and ADA-compliant reach ranges.
When selecting finishes, match the handle material to the door frame to avoid galvanic corrosion:
-
Use stainless steel handles (304 or 316) with stainless frames.
-
Avoid pairing raw aluminum hardware with stainless frames in coastal sites.
-
If you want a premium look that resists fingerprints, choose PVD or brushed stainless finishes.
flush pulls require precise mortising; leave a tolerance of 1–2 mm around the pocket to allow for thermal expansion without binding.
4.2 Installing Lock System for Interior and Exterior Use
Your lock choice depends on security needs and weather exposure. For interior applications, a simple mortise lock or latch suffices. For exterior entrances, specify weather-rated multipoint or magnetic locks and ensure electrical accessories meet ingress protection ratings.
Common secure options and when to use them:
-
Mortise lock — good for medium-security residential or office doors; requires a faceplate cutout and a 20–25 mm backset.
-
Multipoint lock — best for tall or wide panels; distributes locking force across 2–4 points to keep seals tight.
-
Electromagnetic (mag) lock — ideal for high-traffic commercial doors when tied to access control; needs dedicated power supply and fail-safe/fail-secure planning.
-
Electric strike + cylinder — works with existing frames when retrofit is easier than replacing the whole lockset.
Installation steps for an electrified lock (basic):
-
Plan conduit routing and confirm power source near the header or floor box.
-
Mount the lock body to the prepared cutout and secure with stainless fasteners.
-
Run wiring through protected conduit, leaving service loops for strain relief.
-
Perform functional tests: lock/unlock cycles, integration with access control, and emergency release operation.
use recommended fastener torques—M6: 10–12 Nm, M8: 20–25 Nm—to avoid screws backing out under vibration while preventing over-tightening that strips threads.
4.3 Adding Decorative or Functional Hardware Options
Accessories both finish the look and protect the system. Choose threshold covers, bumper pads, and soft-closing devices that fit the door weight and usage pattern. For heavy glass inserts, install protective edge guards and sacrificial wear strips on tracks to minimize direct metal-on-glass contact.
Useful accessory checklist and steps to fit them correctly:
-
Threshold and sill plates: measure and trim to match the 10–12 mm floor clearance; screw down with stainless anchors and seal edges with silicone.
-
Soft-close units: mount to the head track per manufacturer location, then adjust tension in small increments until the closing speed feels smooth.
-
Bumpers and buffers: align so they absorb impact within a 10–25 mm travel zone; test by running the door at normal speed for 10 cycles.
-
Electronic accessories (keypads, card readers): mount at recommended mounting heights (typically 900–1100 mm above finished floor for accessibility), and protect wiring with conduit and junction boxes.
Finish and longevity reminder: always choose corrosion-resistant fasteners and seal penetrations to prevent water ingress around electrified hardware. Regularly check accessory anchor points and re-torque to the values above during annual maintenance to keep everything tight and friction-free.
5. Final Testing and Finishing Touches
5.1 Lubricating Rollers and Checking Sliding Smoothness
Once the panels and track system are in place, perform a full operational check. Begin by opening and closing the door several times to feel for friction or uneven motion. Apply a high-quality, non-staining silicone-based lubricant directly to the roller bearings and upper track groove. Avoid petroleum-based oils—they collect dust and may degrade nylon or rubber parts over time.
To ensure even sliding, follow these steps:
-
Inspect the roller assemblies — verify both sides carry equal weight; adjust the eccentric bolts if one side drags.
-
Clean the track channel — wipe off construction debris or metal filings before lubrication.
-
Test glide consistency — the door should move smoothly with one hand, requiring no more than 20–25 N of force.
-
If you installed a soft-closing mechanism, check that it engages within the last 10–15 cm of travel without slamming.
Regular lubrication every 6–8 months extends roller life and keeps the Раздвижные двери из нержавеющей стали operating quietly and efficiently.
5.2 Sealing Edges for Weather and Sound Insulation
Proper sealing defines long-term performance, especially for Автоматическая раздвижная дверь из нержавеющей стали units exposed to wind or temperature changes. A continuous seal not only reduces noise but also prevents water, air, and dust infiltration.
Recommended steps for precise sealing:
-
Apply EPDM or silicone gasket strips along vertical stiles; overlap joints by at least 10 mm to prevent leakage.
-
Use a compressible brush seal on the head track for smoother movement and effective noise dampening.
-
For exterior models, inject clear neutral-cure silicone along perimeter joints after installation to ensure a waterproof bond between the frame and wall.
-
After curing, close the door and verify that compression is even along the full length—no visible gaps or light leaks.
If installed near HVAC-controlled zones, proper sealing can cut energy loss by up to 12–15%, reducing both heating and cooling costs.
5.3 Cleaning Stainless Surfaces and Removing Fingerprints
The final stage is all about presentation and corrosion prevention. Start with a soft microfiber cloth dampened with a mild neutral detergent solution (pH 6–8). Avoid abrasive pads or chloride-based cleaners that could scratch or stain polished metal.
Cleaning procedure for lasting brilliance:
-
Wipe along the grain of the stainless steel to maintain surface finish integrity.
-
Rinse thoroughly with clean water and dry completely to prevent water spotting.
-
For high-traffic commercial entries like Автоматическая раздвижная дверь из нержавеющей стали для отеля, use an anti-fingerprint or PVD-coated surface—it retains gloss even after frequent contact.
-
Apply a thin protective film of stainless conditioner or mineral oil to resist oxidation in humid environments.
Finally, inspect all fasteners, covers, and seals once more before handover. Every part—from the polished handle to the brushed track cover—should look uniform and function perfectly, leaving a clean, professional finish worthy of a premium installation.