Installing stainless steel exterior wall cladding starts with a clean, leveled surface. Measure your layout, then fix the first panel accurately to set alignment. Use stainless fasteners and seal every joint for waterproofing. This process gives your building a sleek, durable finish that stands strong against weather and time — ideal for both commercial and residential façades.
1.Tools and Materials Required
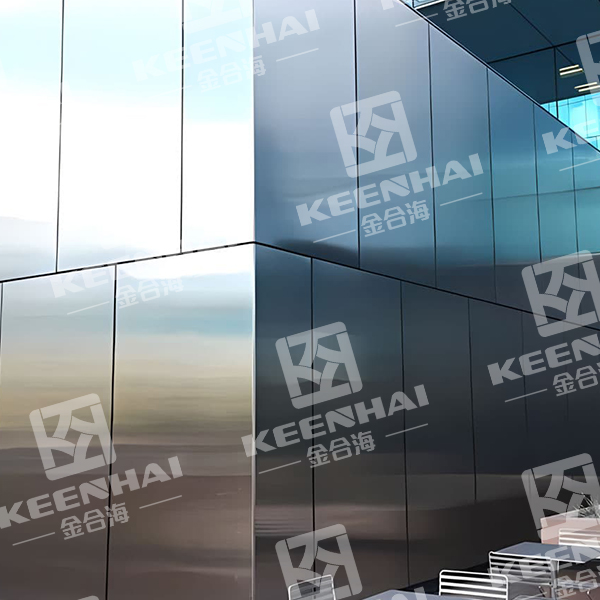
Before starting the installation, having the right tools and materials can make or break your project. A well-prepared setup ensures precise alignment, tight fastening, and long-term durability of the stainless steel wall cladding for buildings. Many architects prefer using stainless steel exterior wall systems because they deliver exceptional weather resistance and maintain a sleek, polished appearance even in coastal or high-humidity environments.
1.1Essential Tools for Cutting and Fastening
Installing stainless steel wall cladding isn’t something you can do with random tools. You’ll need equipment designed to handle metal precisely without warping or scratching its surface.
-
Metal cutting tools – Use an angle grinder with a stainless steel cutting disc for clean, burr-free edges. Never use standard blades; they can overheat and discolor the metal.
-
Cordless drill and rivet gun – These are key for attaching panels to the support framework efficiently. Choose variable-speed models to maintain control during fastening.
-
Laser level and chalk line – For perfect panel alignment and layout markings, a laser level ensures every panel stays straight even over long spans.
-
Protective gear – Gloves, safety goggles, and steel-toe boots are essential. Stainless steel edges are sharp, and a single slip can cause injury.
-
Measuring tools – Always use a steel tape measure rather than a fabric one. Precision down to the millimeter matters when cutting panels to size.
Here’s a simple comparison of recommended cutting and fastening tools for stainless steel cladding installations:
| Tool Type | Professional Grade Example | Average Cost (USD) | Purpose |
|---|---|---|---|
| Metal Cutting Grinder | Makita GA7021 (2000W) | $180–$220 | Cutting stainless panels cleanly |
| Rivet Gun | Milwaukee M12 Cordless Rivet Tool | $250–$300 | Fastening panels to subframe |
| Laser Level | Bosch GLL3-330CG | $400–$450 | Ensures level and alignment |
| Drill Driver | DeWalt 20V XR | $150–$200 | Pre-drilling holes and screws |
These are the tools professionals rely on for precise, efficient installations that last decades. Cheap tools will slow you down and lead to uneven edges — which can compromise both visual alignment və panel stability.
1.2Recommended Sealants and Fixing Accessories
A solid installation depends not only on cutting and fastening but also on how you seal and support the panels. Moisture infiltration can destroy even high-grade cladding if you skip this step.
-
High-performance silicone sealant – Choose neutral-cure silicone that’s compatible with metal substrates. Acidic sealants can cause corrosion over time.
-
EPDM washers and stainless steel screws – These prevent galvanic reactions between dissimilar metals, extending the structure’s lifespan.
-
Backing insulation boards – For thermal regulation, use mineral wool or rigid foam panels. They reduce condensation behind the metal façade.
-
Subframe materials – Aluminum or galvanized steel subframes are typically used. Aluminum is lighter and corrosion-resistant, while galvanized steel is cheaper and sturdier for high-load facades.
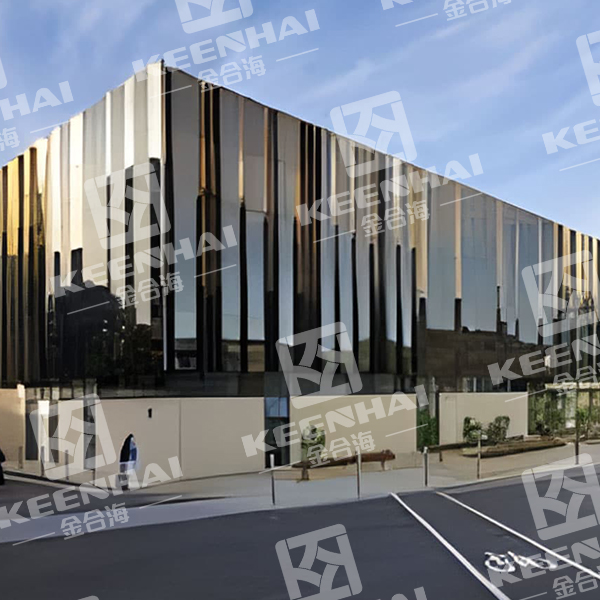
In some modern commercial projects, builders use a stainless steel metal cladding facade system that combines precision-fit brackets and thermal breaks. This approach not only saves labor hours but also improves thermal performance — you can explore more about these systems on our facade solutions page.
1.3Choosing the Right Cladding Panels
Not all stainless steel panels are created equal. You’ll need to evaluate grade, finish, and thickness based on your project type — whether it’s a high-rise, retail complex, or residential exterior.
-
Grade 304 vs. 316 – Grade 316 offers better corrosion resistance and is recommended for coastal regions or areas with high pollution.
-
Surface finish – Brushed finishes reduce glare and fingerprints, while mirror finishes add a modern, high-end look.
-
Panel thickness – Most exterior cladding uses panels between 1.0–1.5 mm thick. Thicker panels increase rigidity and reduce vibration during high winds.
| Panel növü | Common Thickness | Ən yaxşı istifadə nümunəsi | Finish Option |
|---|---|---|---|
| Grade 304 Stainless Steel | 1.0 mm | Standard buildings, dry environments | Brushed / Matte |
| Grade 316 Stainless Steel | 1.2–1.5 mm | Coastal or humid areas | Mirror / Satin |
| PVD Coated Panels | 1.0–1.2 mm | Decorative facades, luxury exteriors | Bronze / Gold / Black |
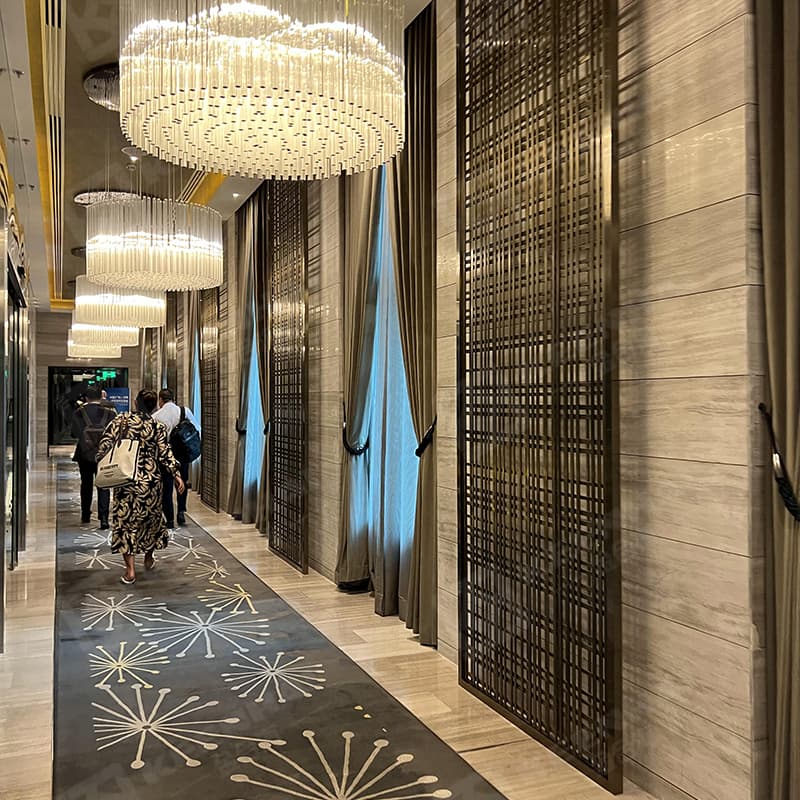
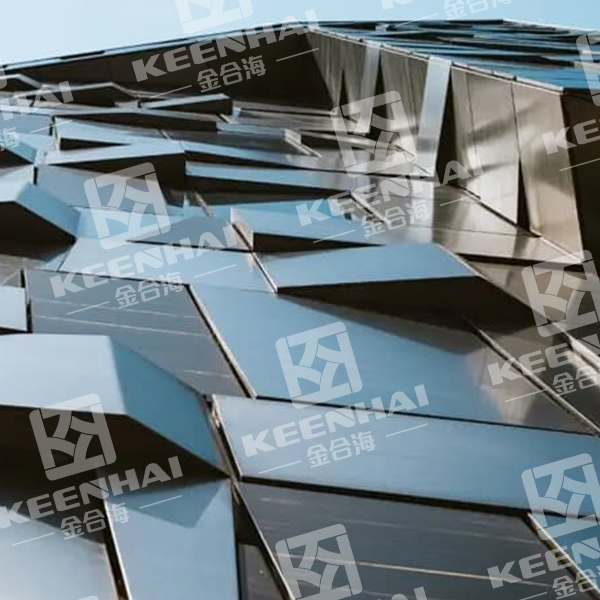
In real-world examples, commercial towers in Singapore and Dubai have adopted PVD-coated stainless steel panels for their building exteriors, balancing luxury aesthetics with minimal upkeep. These case studies prove how choosing the right materials and installation tools upfront leads to stunning, low-maintenance results.
2. Preparing the Wall Surface
Before you start attaching panels, preparing the wall surface is what determines whether your stainless steel exterior wall will last decades or start showing issues in a year. A clean, level, and well-supported base ensures perfect alignment and prevents corrosion or warping later on.
2.2 Measuring and Marking the Layout
Precision matters. Before you drill a single hole, take exact measurements of the entire façade and mark your vertical and horizontal lines. Always start from the center of the wall and work outward — this ensures symmetry, especially on architectural façades.
Here’s the recommended process:
-
istifadə edin a laser level to establish straight alignment lines.
-
Mark the top and bottom reference lines for the first panel.
-
Double-check that openings for windows, vents, or signage are properly positioned within the grid.
The rule is simple: measure twice, fix once. A misaligned panel is nearly impossible to fix after fastening. For curved façades or complex shapes, opt for adjustable brackets or flexible track systems, which are often used in stainless steel metal cladding façade projects — see design options here: metal cladding facade.
| Measurement Step | Recommended Tool | Accuracy Level | Notes |
|---|---|---|---|
| Horizontal & Vertical Alignment | Laser Level | ±1 mm/m | Ensures straight panel rows |
| Edge Layout | Chalk Line | ±3 mm | Ideal for large façades |
| Angle Checking | Digital Protractor | ±0.1° | For corners and slopes |
2.3 Installing the Support Framework
Now comes the backbone of the entire system — the support framework. Without a stable subframe, even the best cladding panels won’t hold properly.
-
Install aluminum or galvanized steel channels onto the wall according to your grid layout.
-
Maintain a uniform spacing of 400–600 mm between vertical supports; this prevents flexing under wind pressure.
-
Use stainless steel fasteners only — mixing metals can lead to galvanic corrosion.
-
Add thermal isolation pads between the frame and the base wall to prevent temperature-related warping.
Architects working on high-rise buildings often prefer stainless steel building exterior systems with adjustable brackets for better alignment — learn more about such structural setups here: building exterior solutions.
At this stage, every bolt should be double-checked for tightness and alignment. Loose or misaligned frameworks will translate into visible panel gaps later. To avoid rust streaks, always use washers and spacers made of the same metal type as your frame.
3. Step-by-Step Installation Process
3.1 Positioning the First Panel
Before installing the first stainless steel exterior wall panel, make sure the base structure is completely level and the alignment marks are visible. Start from the bottom corner of the façade — this ensures the panels above will stay aligned throughout the process.
-
Begin by placing the starter panel along the guideline.
-
Use a laser level or chalk line to verify that the bottom edge is perfectly straight.
-
Double-check vertical spacing and leave a small expansion gap (typically 3–5 mm) for thermal movement.
Architects often prefer stainless steel exterior wall systems for this stage because the panels are pre-fabricated with accurate dimensions, which helps reduce on-site adjustment time. A properly positioned first panel sets the tone for the rest of the installation — precision here means fewer alignment issues later.
3.2 Fixing and Aligning Panels
Once the first panel is set, it’s time to attach subsequent panels. Use stainless steel fasteners compatible with the same metal grade to avoid galvanic corrosion. For concealed fixing systems, brackets and clips are often pre-engineered to lock panels securely without visible screws.
When aligning panels:
-
Always check both horizontal and vertical lines before final tightening.
-
Avoid overtightening screws to prevent surface warping.
-
Use spacers to keep consistent gaps for sealant application later.
Here’s a quick comparison of common fixing systems used in stainless steel cladding projects:
| Fixing Method | Appearance | Ease of Installation | Durability |
|---|---|---|---|
| Visible Screws | Moderate aesthetic | Asan | Yüksək |
| Concealed Clips | Clean and seamless | Orta | Very High |
| Rainscreen Brackets | Premium finish | Complex | Extremely High |
Each method suits different façade designs — for example, concealed clip systems are ideal for modern commercial façades, while rainscreen brackets offer superior ventilation for large architectural buildings.
3.3 Sealing Joints and Corners
After all panels are aligned, the next step is sealing the joints and corners to ensure watertight protection and long-term durability. Use neutral-cure silicone sealant or polyurethane-based joint fillers that can withstand UV exposure and temperature fluctuations.
Apply sealant carefully along vertical and horizontal seams, then smooth the surface with a finishing spatula to achieve a clean, professional look. Corners and intersections should be reinforced with stainless steel corner trims for better edge protection.
In high-rainfall or coastal regions, additional weatherproof membranes behind the panels help improve resistance against moisture infiltration. Attention to these details prevents corrosion, staining, and early panel failure — the kind of durability that modern metal cladding façades are known for.
4. Checking Alignment and Structural Stability
4.1 Inspecting Fasteners and Joints
Once the cladding installation is complete, take time to inspect every fastener and joint carefully. A small error here can lead to long-term structural or aesthetic issues. Make sure all screws and concealed clips are tightened evenly — not too loose to allow movement, and not too tight to cause surface distortion.
Pay extra attention to panel intersections and corner trims. These areas are the most exposed to environmental stress, so they need to be properly sealed and flush with adjacent panels. It’s a good practice to walk along the entire façade from multiple angles to check for irregular shadows or gaps — subtle misalignments are often visible only in natural daylight.
A well-installed paslanmayan poladdan xarici divar örtüyü should have continuous, seamless lines when viewed from a distance, showing both craftsmanship and precision.
4.2 Testing for Water and Wind Resistance
After visual inspection, perform a basic water and wind resistance test to confirm the cladding’s performance.
-
Spray water evenly across several sections of the façade for at least 10–15 minutes and check if any moisture seeps through the joints.
-
For taller structures, use a portable wind simulator or monitor for rattling noises during high winds — this reveals whether the anchor system is stable enough.
-
Inspect the sealants after 24 hours to ensure there’s no softening, peeling, or discoloration.
For large-scale commercial façades, laboratory-grade tests like ASTM E330 (for structural performance) and ASTM E331 (for water penetration) are recommended. Passing these ensures that the installation meets international standards of durability and safety.
At this stage, many architects choose to source future stainless steel products and architectural panels directly from pvdstainlesssteel’s product collections — a reliable option for consistent quality, modern finishes, and precise fabrication support. Whether you’re designing façades for luxury hotels, modern residences, or public buildings, maintaining alignment and structural stability ensures the exterior wall system continues to perform beautifully for decades.