Start by preparing and leveling the substrate, then measure and cut sheets to the correct size. Install panels using screws, rivets, clips, or adhesives, ensuring seams are aligned and gaps consistent. Finally, finish edges with trim or sealants and polish surfaces for a clean, professional look that maintains durability and appearance over time.
1. Preparation Before Installation
Before you start installing high-quality stainless steel sheets, thorough preparation is key to achieving a clean, precise, and durable installation. Skipping these steps often leads to misalignment, scratches, or uneven surfaces that are difficult to correct later.
1.1 Selecting the Right Stainless Steel Sheet Grade and Finish
-
Determine the appropriate grade: For most interior applications like commercial kitchens or decorative wall panels in hotels, 304 SS sheet is preferred due to its corrosion resistance and ease of cleaning. For outdoor installations exposed to saltwater or harsh weather, 316 stainless steel sheets provide better durability.
-
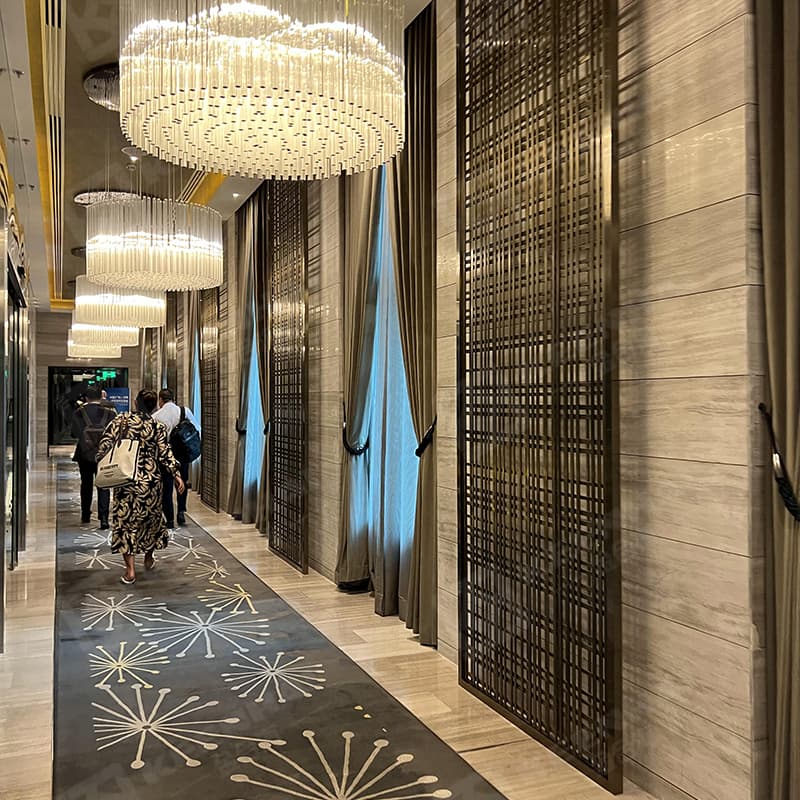
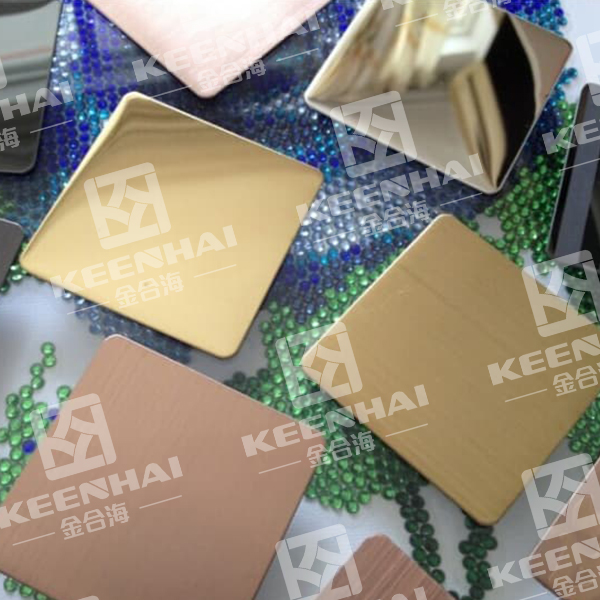
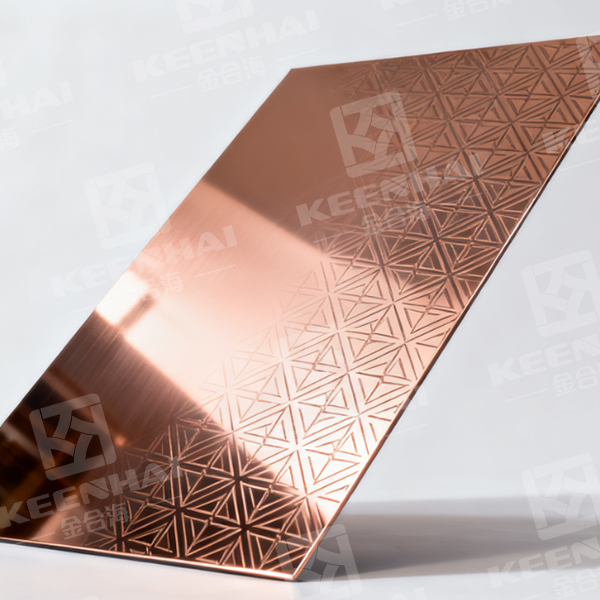
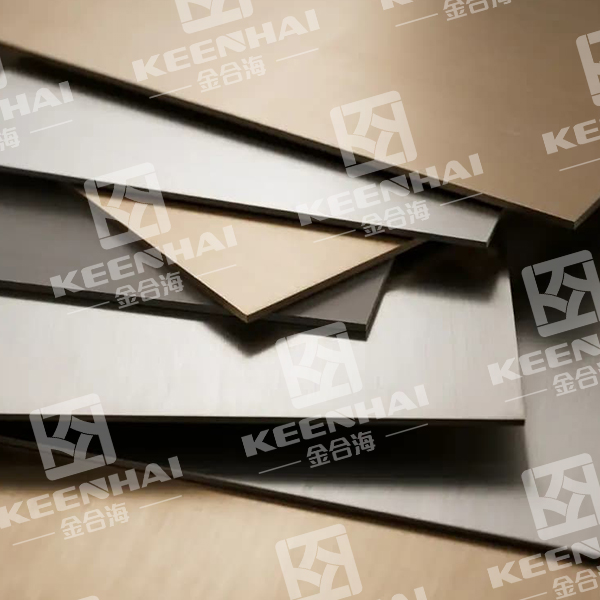
Choose the right finish: Common finishes include mirror, brushed, and PVD-coated finishes. Mirror finishes give a reflective, premium look ideal for luxury interiors, while brushed finishes hide fingerprints and minor scratches, making them ideal for high-traffic areas.
-
Consider thickness: Sheets typically range from 0.5 mm to 3 mm. 1–1.5 mm thickness is ideal for wall cladding, whereas 2–3 mm is better for countertops or structural panels.
Many designers in Singapore and Dubai hotels prefer a combination of 1.2 mm brushed 304 stainless steel for walls and 2 mm mirror 316 stainless steel for countertops, ensuring both aesthetics and durability.
1.2 Measuring and Cutting Area Planning
-
Measure accurately: Use laser measuring tools to record wall dimensions or panel areas to within ±2 mm accuracy.
-
Plan cutting layout: Avoid unnecessary seams; position cuts in less visible areas when possible.
-
Account for expansion gaps: Stainless steel expands slightly under heat. Leave 2–3 mm gaps per meter between panels to prevent buckling.
-
Label sheets: Mark cut lines and orientation clearly to avoid mistakes during installation.
1.3 Required Tools and Safety Equipment
-
Cutting tools: Guillotine shears for straight cuts, nibbler tools for curves.
-
Drilling and fastening tools: Electric drills, countersinks, rivet guns.
-
Finishing tools: Sanding blocks, polishing pads, and microfiber cloths.
-
Safety equipment: Gloves, protective eyewear, ear protection, and anti-slip shoes.
When installing SS స్టీల్ ప్లేట్ panels in a hotel kitchen in Dubai, technicians follow a strict sequence: measuring → marking → cutting → deburring → temporary placement before final fixing. This reduces errors and protects high-value materials from damage.
1.4 Storage and Handling Before Installation
-
Store sheets flat: Keep panels horizontally on clean surfaces with protective padding to avoid scratches.
-
Avoid moisture contact: Even stainless steel can develop surface stains if exposed to standing water.
-
Minimize movement: Only move sheets when necessary; handle with suction cups or two-person lifts for larger panels.
For installations requiring metal stainless steel sheets outdoors, store panels under temporary shade or in protective crates to prevent dust and debris accumulation before mounting.
2. Surface Preparation and Support Setup
Before mounting stainless steel sheets, the surface and support structure need careful preparation to ensure panels remain flat, aligned, and durable over time.
2.1 Cleaning and Leveling the Substrate Surface
-
Remove dirt and debris: Use a clean, damp cloth or mild detergent to wipe walls, floors, or mounting surfaces. Any dust, grease, or old adhesive can prevent panels from sitting flush.
-
Check for level: Use a spirit level or laser level to confirm the substrate is flat. Correct any bumps or uneven spots with a thin layer of leveling compound or patch filler.
-
Dry completely: Moisture trapped under the sheet can lead to warping or staining over time.
2.2 Installing Backing or Support Structures
-
Choose the right backing: Wooden battens, aluminum channels, or stainless steel frames provide secure attachment points.
-
Position supports: Space vertical or horizontal supports according to panel size. Typically, supports every 400–600 mm ensure stability for 1–2 mm thick sheets.
-
Secure firmly: Use screws, anchors, or rivets to fix supports, making sure they sit flush with the substrate. Misaligned supports can cause uneven panels or stress points.
2.3 Marking Layout Lines and Reference Points
-
Measure and mark: Use a tape measure and laser level to draw straight lines for panel placement. These lines act as guides for alignment and cutting.
-
Include expansion gaps: Stainless steel expands slightly with heat; mark 2–3 mm gaps per meter along seams.
-
Double-check alignment: Confirm horizontal and vertical lines match the room geometry before attaching panels or supports.
For example, when installing metal stainless steel sheets on hotel walls, accurate layout lines prevent cumulative errors and make the final installation look seamless.
3. Sheet Cutting and Edge Treatment
Proper cutting and edge finishing are critical to ensure stainless steel sheets fit precisely and maintain a polished look. Incorrect cutting can lead to scratches, sharp edges, or alignment issues that compromise the installation.
3.1 Cutting Stainless Steel Sheets to Size
-
Measure and mark: Double-check all measurements and mark cut lines clearly with a fine-tip marker or chalk. Always account for expansion gaps of 2–3 mm per meter.
-
Choose the right cutting tool: Use a guillotine shear for straight cuts, a nibbler tool for curves, or a plasma cutter for thicker sheets. For 1–2 mm thickness sheets, a hand nibbler or electric shear usually provides the cleanest cut.
-
Maintain panel stability: Support the sheet fully during cutting to prevent flexing, warping, or accidental bending.
3.2 Deburring and Edge Finishing
-
Remove burrs: After cutting, run a file or deburring tool along all edges to eliminate sharp metal fragments.
-
Smooth the edges: Sand lightly with 120–240 grit sandpaper or polishing pads, depending on the desired finish. Brushed finishes may require linear sanding to match the surface texture.
-
Check edge consistency: Hold the sheet up to light; uneven edges cast shadows and indicate areas needing extra smoothing.
3.3 Handling and Storage of Cut Sheets
-
Stack carefully: Place cut sheets flat on a clean surface with protective padding between each panel to avoid scratches.
-
Use proper lifting techniques: For larger sheets, employ two-person lifts or suction cups to reduce stress on the material and prevent bending.
-
Maintain cleanliness: Keep cut sheets away from moisture or construction debris. Even minor contamination can lead to surface staining over time.
In high-end kitchen installations in Dubai, cut 304 stainless steel sheets are often prepared off-site, edges deburred, and then transported flat with protective padding. This ensures panels arrive ready to mount, reducing on-site adjustment time.
4. Installation Methods
Choosing the right installation method ensures stainless steel sheets remain secure, aligned, and visually seamless. Different methods suit different panel sizes, thicknesses, and mounting surfaces.
4.1 Mechanical Fastening (Screws, Rivets, Clips)
-
Select appropriate fasteners: Use stainless steel screws or rivets to prevent corrosion. Clips or brackets can be used for lighter panels or modular designs.
-
Pre-drill holes: Drill holes slightly smaller than the fastener diameter to avoid panel deformation. For 1–2 mm thick sheets, a 3–4 mm pilot hole usually works best.
-
Align and secure panels: Position each sheet along the marked layout lines, insert fasteners at intervals of 300–500 mm, and tighten gradually to avoid bending the sheet.
4.2 Adhesive Bonding Techniques
-
Surface preparation: Clean both the panel back and substrate thoroughly, removing dust, grease, and moisture.
-
Choose the right adhesive: High-strength construction adhesives or epoxy suited for metal-to-metal or metal-to-wood bonds work best.
-
Apply evenly: Spread a thin, continuous layer on the back of the sheet, then press firmly onto the substrate. Maintain pressure with clamps or temporary supports for 10–15 minutes to ensure bonding.
4.3 Hybrid Methods (Combination of Fastening and Adhesive)
-
Combine for extra stability: Use fasteners at the edges and adhesive in the central area of larger sheets to prevent bowing or movement.
-
Sequence carefully: First attach mechanical fasteners loosely, apply adhesive, then tighten screws fully after the adhesive sets slightly.
-
Check alignment continuously: Use a level to verify horizontal and vertical alignment before adhesive cures completely.
Details matter: For panels over 2 m², hybrid methods reduce flexing and ensure longevity, particularly in high-traffic areas like hotel lobbies or commercial kitchens. Proper spacing and adhesive coverage are critical to avoid stress points that could lead to warping or surface blemishes.
5. Finishing and Alignment
Proper finishing ensures stainless steel sheets not only look sleek but also maintain durability over time. Attention to seams, alignment, and surface protection is crucial for a professional result.
5.1 Checking Flatness and Seam Alignment
-
Inspect each panel: Use a straightedge or laser level to check for any warping, bulges, or uneven edges.
-
Adjust as needed: Loosen fasteners slightly if panels are misaligned, then carefully reposition to achieve flush seams.
-
Maintain consistent gaps: Ensure expansion gaps of 2–3 mm per meter between panels to allow for thermal movement.
5.2 Installing Trim, Joints, and Sealants
-
Select appropriate trims: Use stainless steel corner trims, edge profiles, or joint covers for both aesthetics and protection.
-
Apply sealants: Use a neutral-cure silicone or high-quality adhesive sealant along joints to prevent moisture ingress.
-
Smooth the finish: Tool the sealant evenly and remove excess to create a clean line along edges.
5.3 Polishing or Protective Film Application
-
Surface polishing: For brushed or mirror finishes, use fine-grade polishing pads to remove minor scratches and maintain uniform texture.
-
Apply protective film: Many installations benefit from leaving a temporary protective film on the surface until construction is complete.
-
Final inspection: Check for dust, fingerprints, or imperfections before opening the space for regular use.
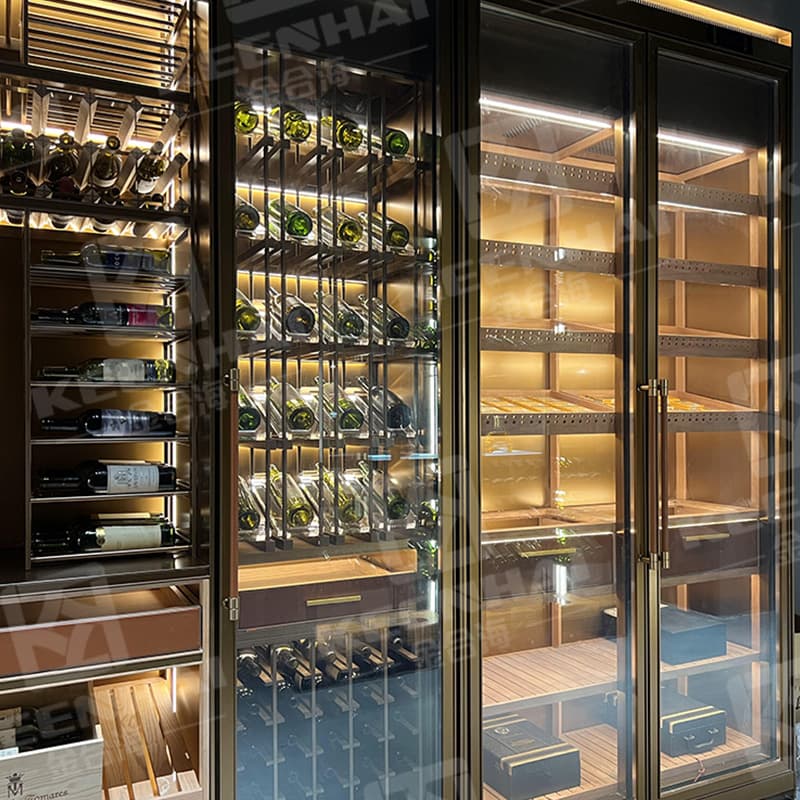
For projects where the highest quality matters—like luxury kitchens, hotel facades, or bespoke architectural installations—choosing premium stainless steel products can make a significant difference. For reliable, high-quality stainless steel sheets and related solutions, you can explore offerings from pvdstainlesssteel.com, which provides a full range of panels, metal sheets, and accessories suitable for professional installations.