
А successful stainless steel wine cellar installation begins with the room, not the visible racks or wall panels. The enclosure must be prepared for the intended wine-storage conditions; the cooling and ventilation strategy must be coordinated with the building; and the interior layout must leave enough space for installation, access, cleaning, and future service. Stainless steel can provide a hygienic, durable, and visually controlled finish, but it does not correct moisture, heat, air leakage, poor drainage, or an unsuitable refrigeration plan.
This guide explains how to prepare a site, coordinate insulation and vapor control, plan ventilation and cooling, arrange stainless steel racks and circulation, manage doors and service zones, and complete the installation in a controlled sequence. Exact temperature, humidity, airflow, equipment capacity, and electrical requirements should come from the selected wine-cellar engineer, refrigeration specialist, equipment manufacturer, and local code requirements rather than from a generic article. Treat the installation package as a coordinated design record: the room survey, enclosure build-up, equipment selection, rack layout, service routes, and commissioning notes should all refer to the same project conditions and drawing revision.
1. Confirm the Room and Storage Brief
Start by defining how the cellar will be used. Record the approximate bottle capacity, bottle formats, display areas, tasting or service functions, access frequency, lighting needs, preferred rack style, and whether the room is for private, hospitality, retail, or commercial use. A compact private room may prioritize storage density, while a hospitality cellar may need wider circulation, display lighting, service shelving, and a more deliberate visitor route.
Survey the existing room before finalizing fabrication. Measure floor-to-ceiling height, wall lengths, corners, openings, beams, pipes, drains, electrical points, ventilation routes, and equipment clearances. Note any uneven substrate, water staining, condensation, or previous leakage. A stainless steel wine cellar installation should not proceed on the assumption that existing walls are square, dry, or structurally suitable.
| Site information | Why it matters |
| Room dimensions and diagonals | Confirms usable rack lengths and whether large components can enter |
| Door and stair access | Influences panel, rack, and equipment delivery sizes |
| Floor level and drainage | Helps prevent standing water and supports cleaning |
| Existing moisture or condensation | May indicate a building-envelope or vapor-control issue |
| Electrical and service routes | Determines equipment, lighting, sensor, and maintenance locations |
| Adjacent rooms | Helps assess heat, noise, discharge air, and service access |
2. Prepare the Envelope: Floor, Walls, Ceiling, and Vapor Control
Wine storage depends on a stable enclosure. Before stainless steel finishes or racks are installed, confirm the floor, walls, and ceiling can receive the planned insulation, lining, vapor-control layer, panels, trims, and equipment. The correct build-up depends on climate, room location, adjacent spaces, and the selected cooling system.
Treat moisture control as a coordinated assembly. Joints, penetrations, corners, door openings, pipe routes, and service penetrations need compatible detailing. A gap behind a stainless steel panel can conceal condensation or water entry, so visible cladding should not be used to hide an unresolved envelope problem.
The floor should be level enough for the rack and panel system, capable of supporting the expected load, and detailed for cleaning. Where wet cleaning is expected, confirm drainage, falls, thresholds, and waterproofing with the project team. Keep electrical connections and sensitive equipment away from locations where water could collect. If the room is below grade or near a wet area, obtain suitable building-envelope advice before fabrication.
3. Coordinate Cooling, Ventilation, and Condensation Control
A wine cellar cooling system must be selected for the actual room enclosure, internal load, door use, equipment location, and surrounding conditions. Do not choose equipment only by room volume or assume that a domestic air-conditioning unit will provide the required cellar conditions. Confirm the equipment manufacturer’s installation clearances, discharge-air path, condensate arrangement, noise limits, electrical supply, and service access.
Ventilation and cooling are related but not identical. The cooling unit may move air within the cellar and reject heat somewhere else. A concealed unit may require ductwork, grilles, or a nearby plant area. A through-wall or split arrangement may affect adjacent rooms. Every option needs a clear route for supply air, return air, heat rejection, condensate, controls, and future maintenance.
| Coordination item | Questions to resolve before installation |
| Cooling equipment | Where is it located, and can it be removed for service? |
| Supply and return air | Can air circulate without blocked racks or dead zones? |
| Heat rejection | Where does rejected heat go, and will it affect another room? |
| Condensate | Is the drain trapped, protected, accessible, and sloped as required? |
| Controls and sensors | Are sensors away from direct discharge air, doors, and heat sources? |
| Noise and vibration | Will the equipment disturb bedrooms, offices, tasting areas, or neighbors? |
The cellar should be commissioned with the door closed and the intended equipment operating. Record the approved control settings and alarm conditions, but do not publish generic temperature or humidity promises without project-specific confirmation.

4. Plan the Stainless Steel Interior and Layout
A stainless steel wine cellar installation should balance storage density with access. Begin with a layout drawing showing rack modules, bottle orientation, display zones, corners, doors, lighting, sensors, cooling grilles, service shelves, and clear circulation. Avoid placing a rack where it blocks a removable filter, drain, sensor, access panel, or equipment service zone.
Bottle formats affect the layout. Standard bottles, larger formats, cases, decanters, and display pieces may need different clearances. Confirm the rack manufacturer’s stated capacity and loading assumptions instead of treating every opening as interchangeable. Heavy concentrated loads should be reviewed against the floor and support system.
Stainless steel may be used for racks, wall liners, trims, worktops, doors, or protective panels. Define the visible finish, edge treatment, weld appearance, cleaning method, and protection during construction. Brushed or satin surfaces can show scratches and directional variation, while highly reflective finishes can make fingerprints and installation marks more visible. Approve a physical sample when appearance is important.
5. Coordinate Doors, Openings, Lighting, and Services
The cellar door is part of the environmental enclosure. Confirm the frame, leaf, seals, threshold, swing, hardware, glazing if used, and interface with insulation and vapor control. The door should not obstruct racks, lighting controls, or circulation. If the room is frequently accessed, check how repeated opening affects the cooling strategy and whether an alarm or control response is required by the selected system.
Lighting should support safe access and product visibility without adding an uncontrolled heat load. Coordinate fixtures, drivers, switches, sensors, and cable routes before the rack and lining package is released. Keep equipment away from locations exposed to cleaning water, and provide access for replacement.
Service openings should be planned into the drawings. Identify where pipes, cables, refrigeration lines, drains, sensors, and grilles pass through the enclosure. Seal or detail each penetration as part of the vapor and moisture-control strategy. Do not cut a finished stainless steel panel on site unless the method, edge treatment, protection, and approval responsibility are clear.
6. Follow a Controlled Installation Sequence
A practical sequence is: verify the survey; confirm the envelope; complete insulation and vapor-control work; install drainage and rough services; prepare the floor; install cooling equipment and primary services; install wall or ceiling liners; fit trims and doors; install racks and shelves; connect controls and lighting; then protect, clean, test, and hand over.
The actual sequence may change, but the principle remains: close-up work should not hide untested moisture control, inaccessible services, or unverified equipment clearances. Use approved shop drawings for rack positions, panel joints, openings, and interfaces. Protect stainless steel from grinding dust, cement residue, adhesives, incompatible cleaners, and impacts from later trades.
| Stage | Inspection focus |
| Pre-installation | Survey, dimensions, substrate, access, storage, and approved samples |
| Envelope | Insulation continuity, vapor-control joints, penetrations, waterproofing, and floor condition |
| Services | Cooling clearance, drainage, power, controls, sensors, and ventilation paths |
| Interior fit-out | Panel alignment, rack level, door seals, corners, trims, and safe access |
| Commissioning | Equipment operation, condensate flow, controls, alarms, noise, and recorded settings |
| Handover | Cleaning instructions, warranties, drawings, spare parts, maintenance contacts, and photos |
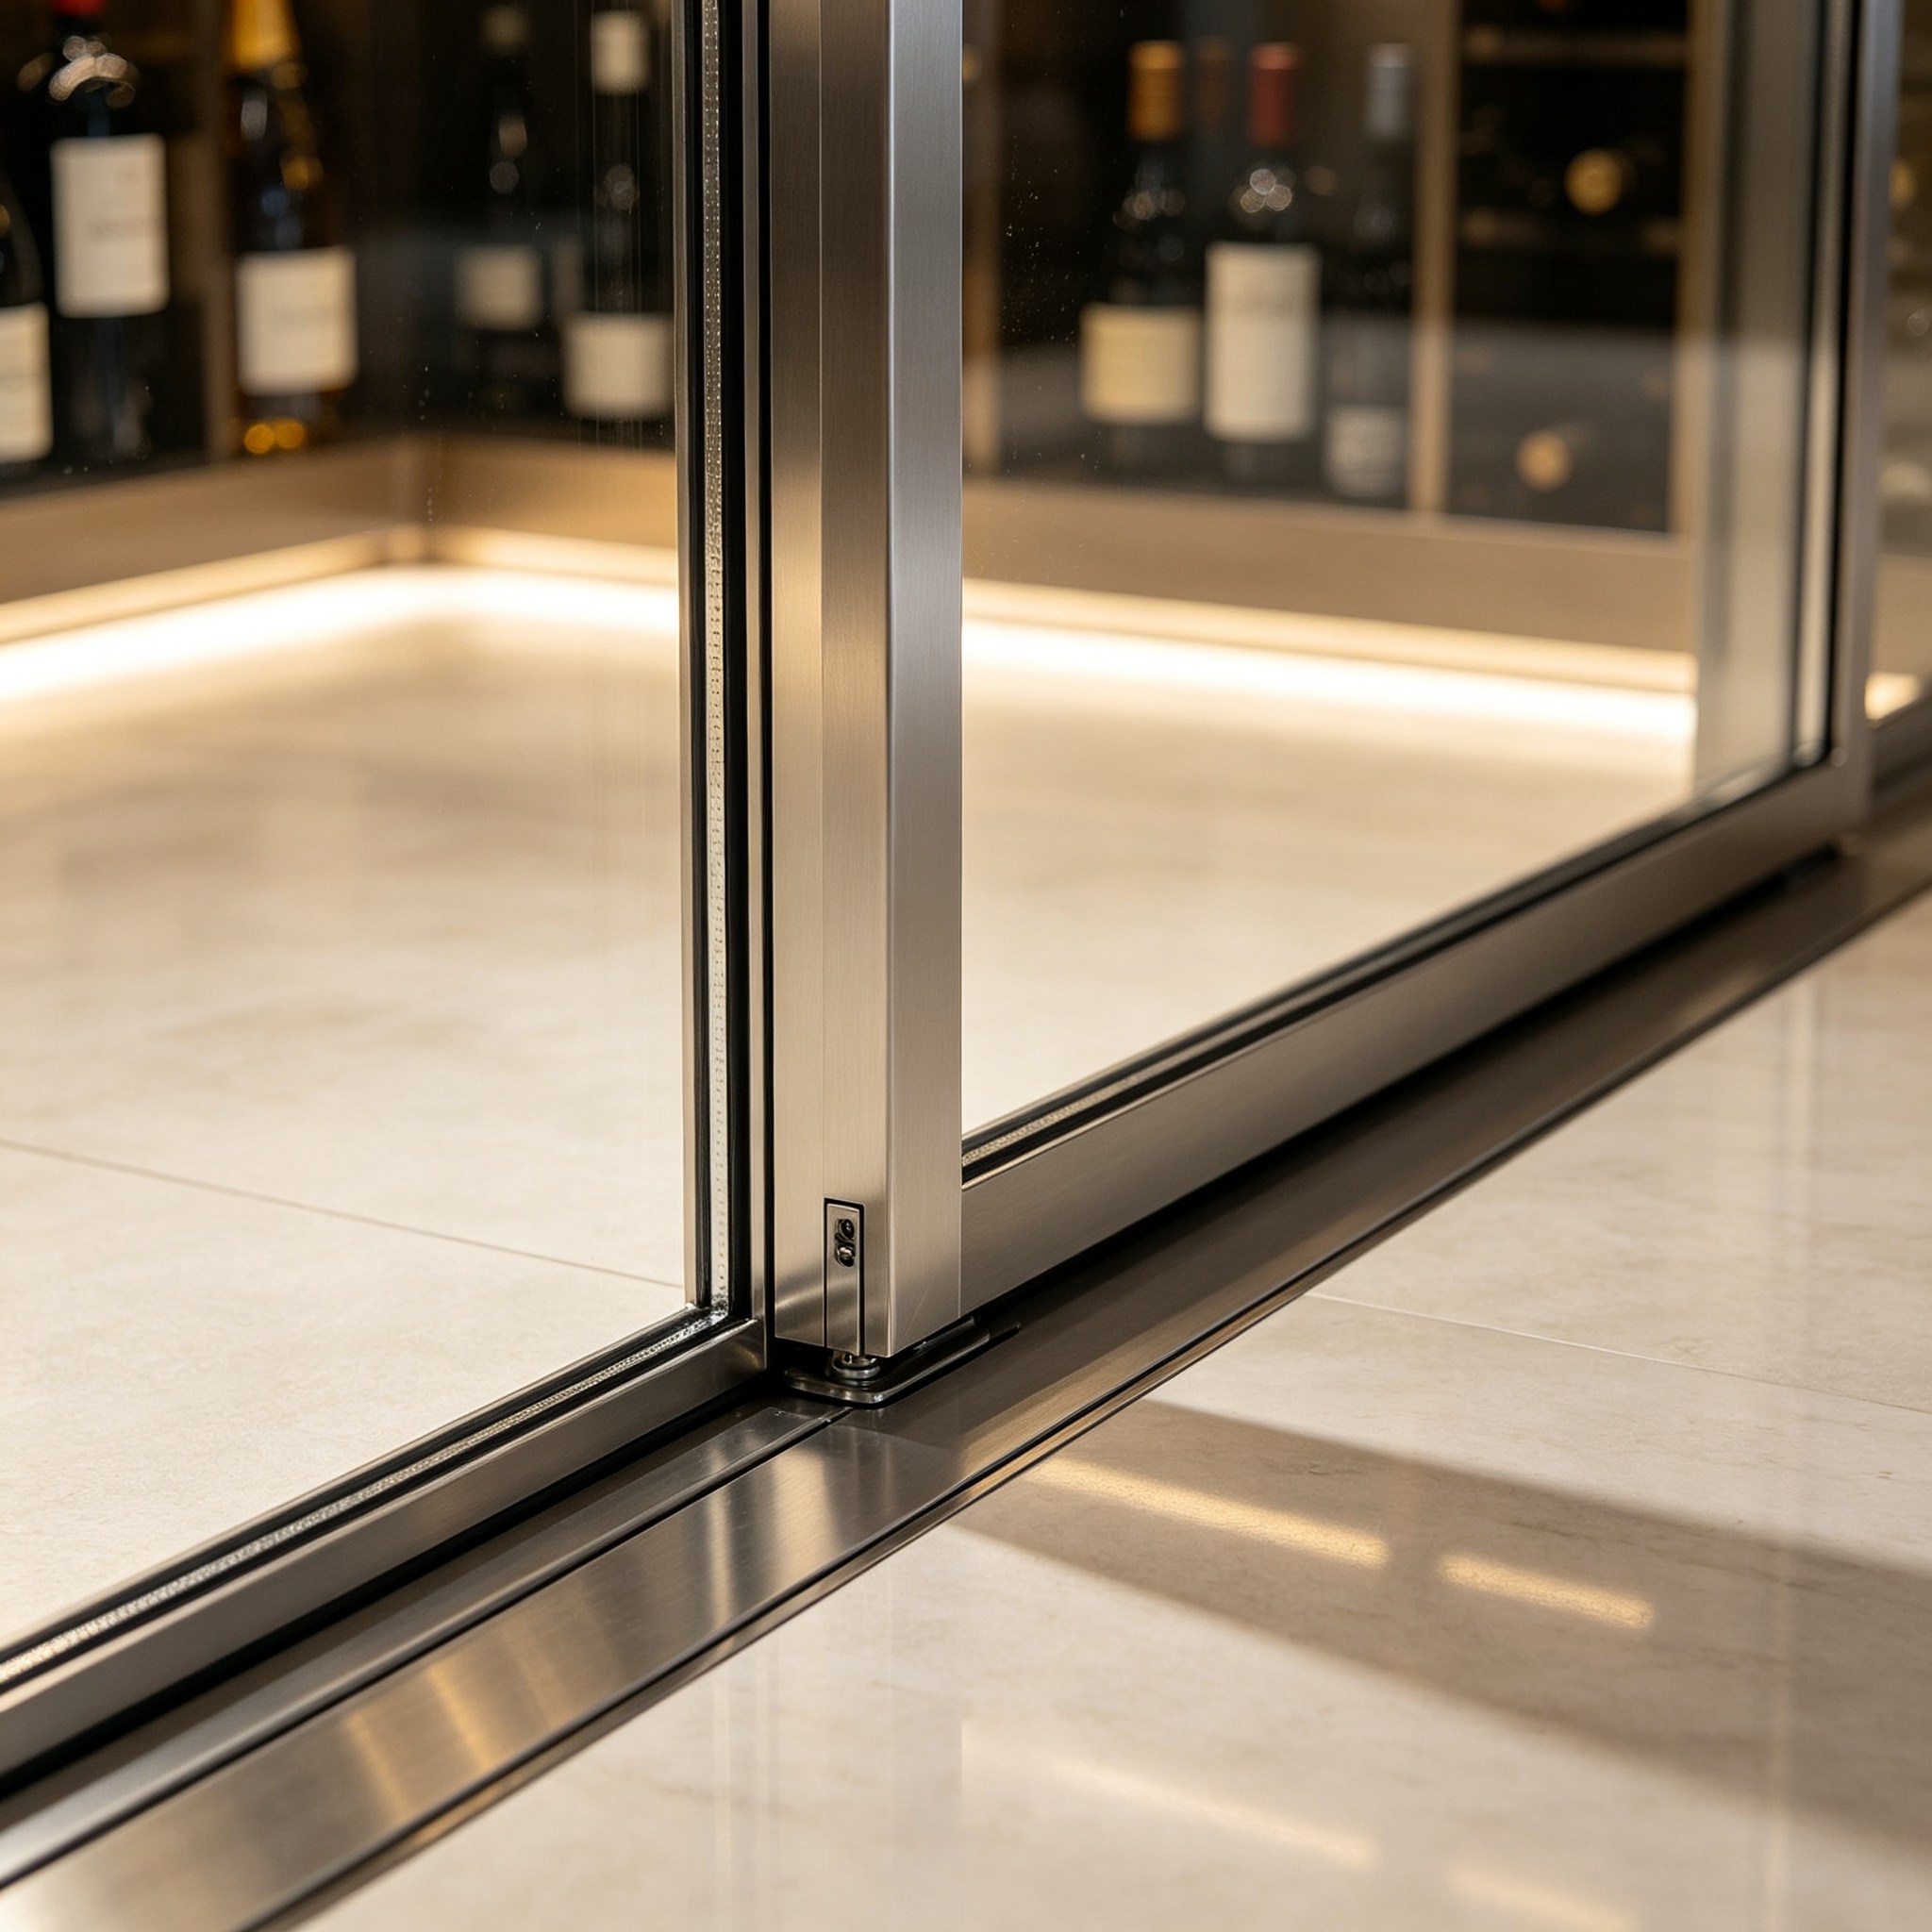
7. Handover, Maintenance, and Common Mistakes
Before handover, clean the stainless steel using methods approved for the finish. Remove protective film and construction residue without spreading abrasive dust across visible surfaces. Provide the owner with rack layouts, equipment manuals, control settings, drain information, finish references, approved cleaning products, and service contacts.
Common mistakes include choosing cooling equipment too late, installing racks before confirming air paths, blocking service access, ignoring floor drainage, failing to seal penetrations, assuming existing walls are square, and using decorative stainless steel panels to conceal moisture problems. Another mistake is accepting a visually attractive layout that leaves no practical route for replacing a fan, filter, sensor, light, or drain component.
A maintenance plan should identify cleaning frequency, inspection of seals and trims, condensate checks, rack damage, door operation, sensor condition, and equipment servicing. Any persistent condensation, water entry, unusual noise, unstable conditions, or finish deterioration should be investigated by the appropriate specialist rather than covered with a cosmetic repair.
FAQ: Stainless Steel Wine Cellar Installation
What should be prepared before stainless steel wine cellar installation?
Prepare a measured survey, room brief, envelope and moisture-control design, cooling plan, drainage route, electrical layout, rack layout, door details, finish samples, and coordinated shop drawings.
Can stainless steel panels solve condensation problems?
No. Stainless steel is a finish or component material. Condensation control depends on the enclosure, insulation, vapor control, temperature differences, ventilation, equipment, and installation details.
Should racks be installed before cooling equipment?
Usually, cooling routes, equipment clearances, drains, sensors, and major services should be coordinated before racks are fixed. The final sequence depends on the selected system and shop drawings.
How can layout errors be avoided?
Use a measured plan with bottle formats, rack modules, doors, clearances, service zones, access panels, and equipment maintenance space. Review it with the installer and equipment specialists before fabrication.
Висновок
A reliable stainless steel wine cellar installation is a coordinated room project. Prepare the envelope, control moisture, select cooling and ventilation from the real room conditions, plan racks around access and services, and install stainless steel finishes only after the supporting work is ready. A measured survey, coordinated drawings, physical finish samples, controlled installation sequence, commissioning record, and clear handover package will reduce avoidable rework. The final details should always follow the selected equipment data, project requirements, local regulations, and advice from qualified building, refrigeration, and electrical professionals. At handover, retain the measured drawings, product manuals, control settings, drainage details, finish references, cleaning instructions, spare-part information, and service contacts. This record helps the owner respond to condensation, equipment alarms, damaged racks, door problems, or future layout changes without relying on guesswork. A stainless steel wine cellar installation is successful when the visible finish, environmental controls, access, and maintenance plan work together throughout the room’s service life.